 |
|
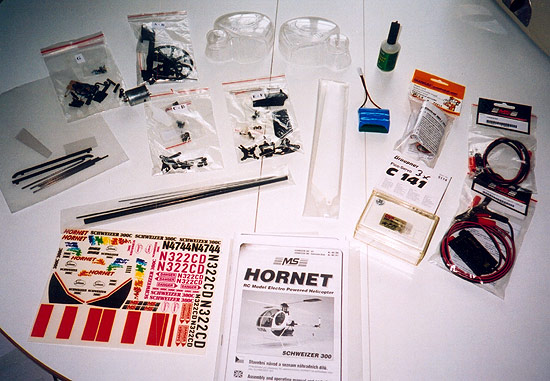
When I opend the box that the Hornet come in, it's not much inside at first look. |
 |
|
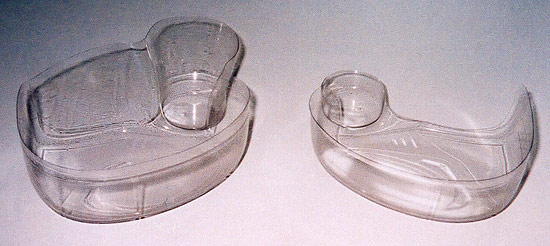
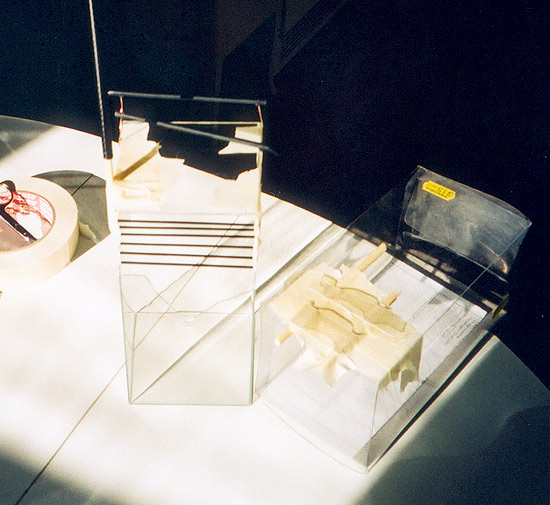
Here I have started to cut out the plastic body to the right. |
 |
|
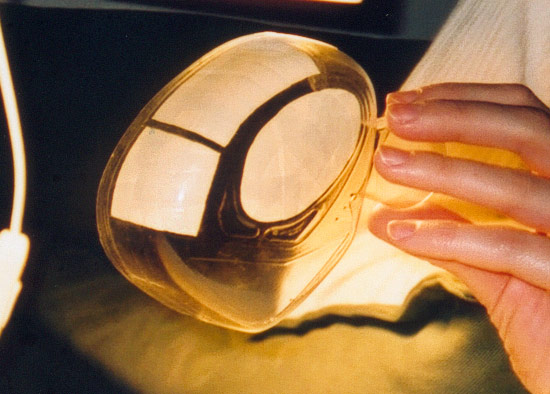
Started masking the windows. |
 |
|
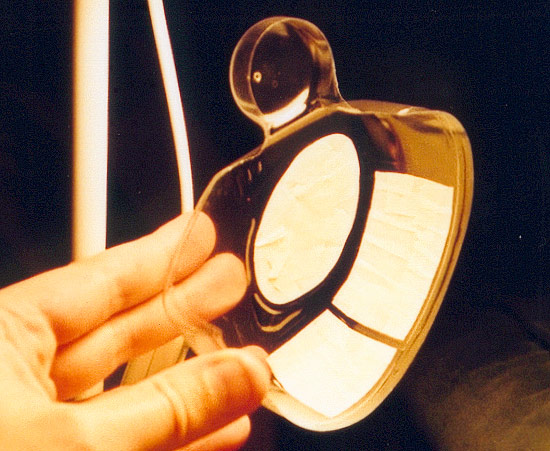
Also made a hole for the mounting. |
 |
|
Made a painting rack for all parts that is going to be painted. I used an old Kyosho Mini-Z body box for that. |
 |
|
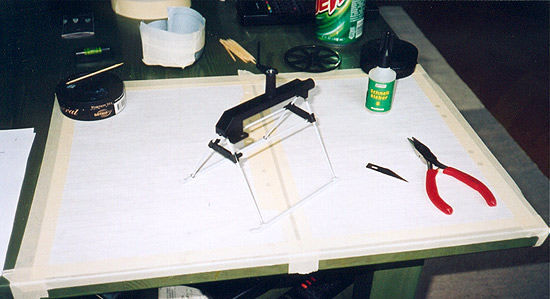
Here is the main cassi and landing geer put together. It's not hard to follow the manual, but I had to be cairfull because almost all parts is glued together with locktight. |
 |
|
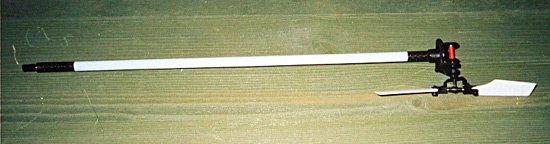
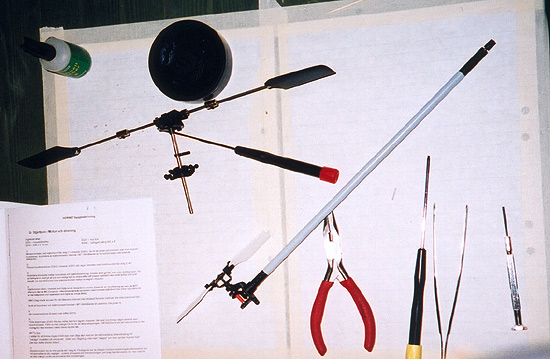
Tailbom done. This must have been the hardest part to get right. So many parts that move and they have to move smooth. |
 |
|
Rotor and tailbom. |
 |
|
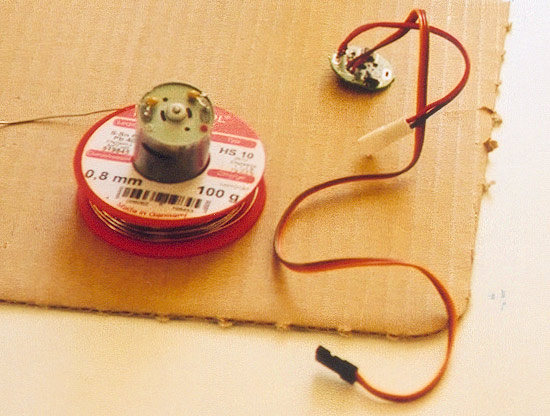
Here Im about to solder on the speedcontroler card on the motor. |
 |
|
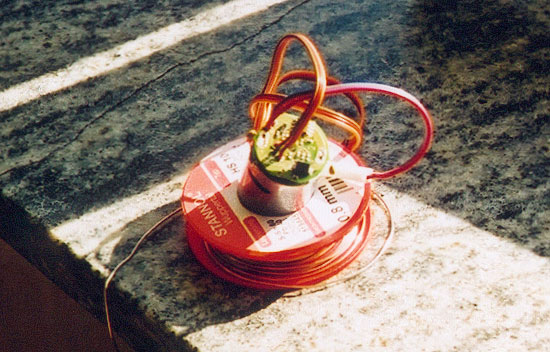
Speedcontroler on place. |
 |
|
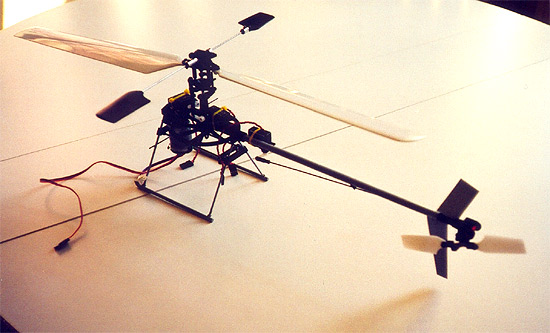
It's starting to look like an helicopter. I put on all the servos and electronics. |
 |
|
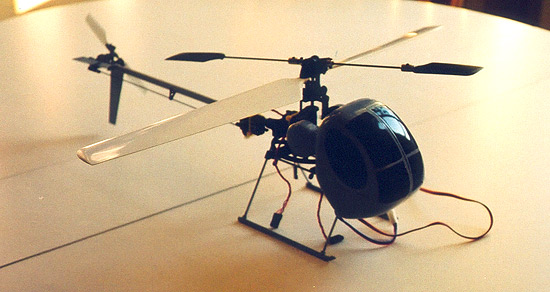
Finaly with the body on. Just some electronics left to conect. |
 |
|
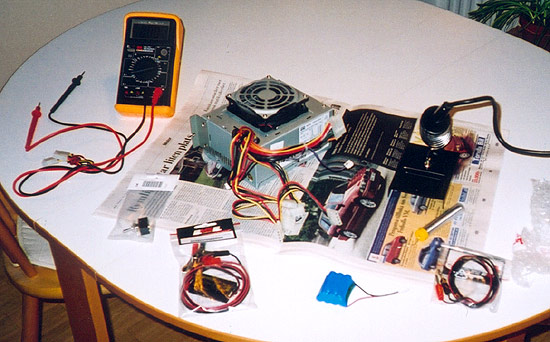
I got a 12V batterycharger to this helicopter, and I wanted to be able to use it at home in the 220V. So I used an old PC ATX power supply. It worked nice, but I gave it up after I got a new chager that had a 220 and a 12V conection. |
 |
|
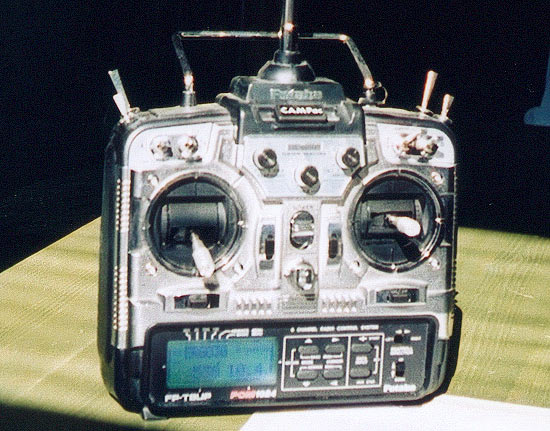
Radio that Im going to use. I had that from my other helicopter (Ergo30). |
 |
|
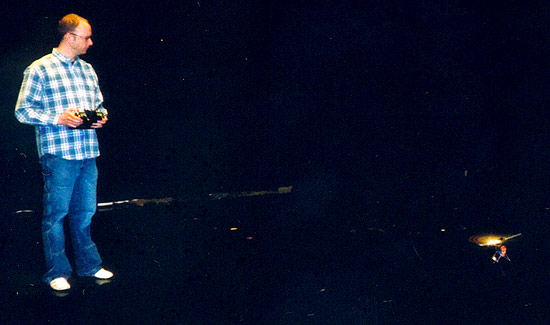
This is not my first try. I had my Hornet with me to work, so here Im flying or trying to fly in TV4's studio one.
I did crash that day sevral times, but nothing happend. The helicopter is so light, it's only 290 grams with battery incl.
But I did crash a little to hard one time, was up maby two meters in the air and did fly in to the wall. I broke of one of the /\ on the motor geer. |